Beaded jewellery
CostMedium
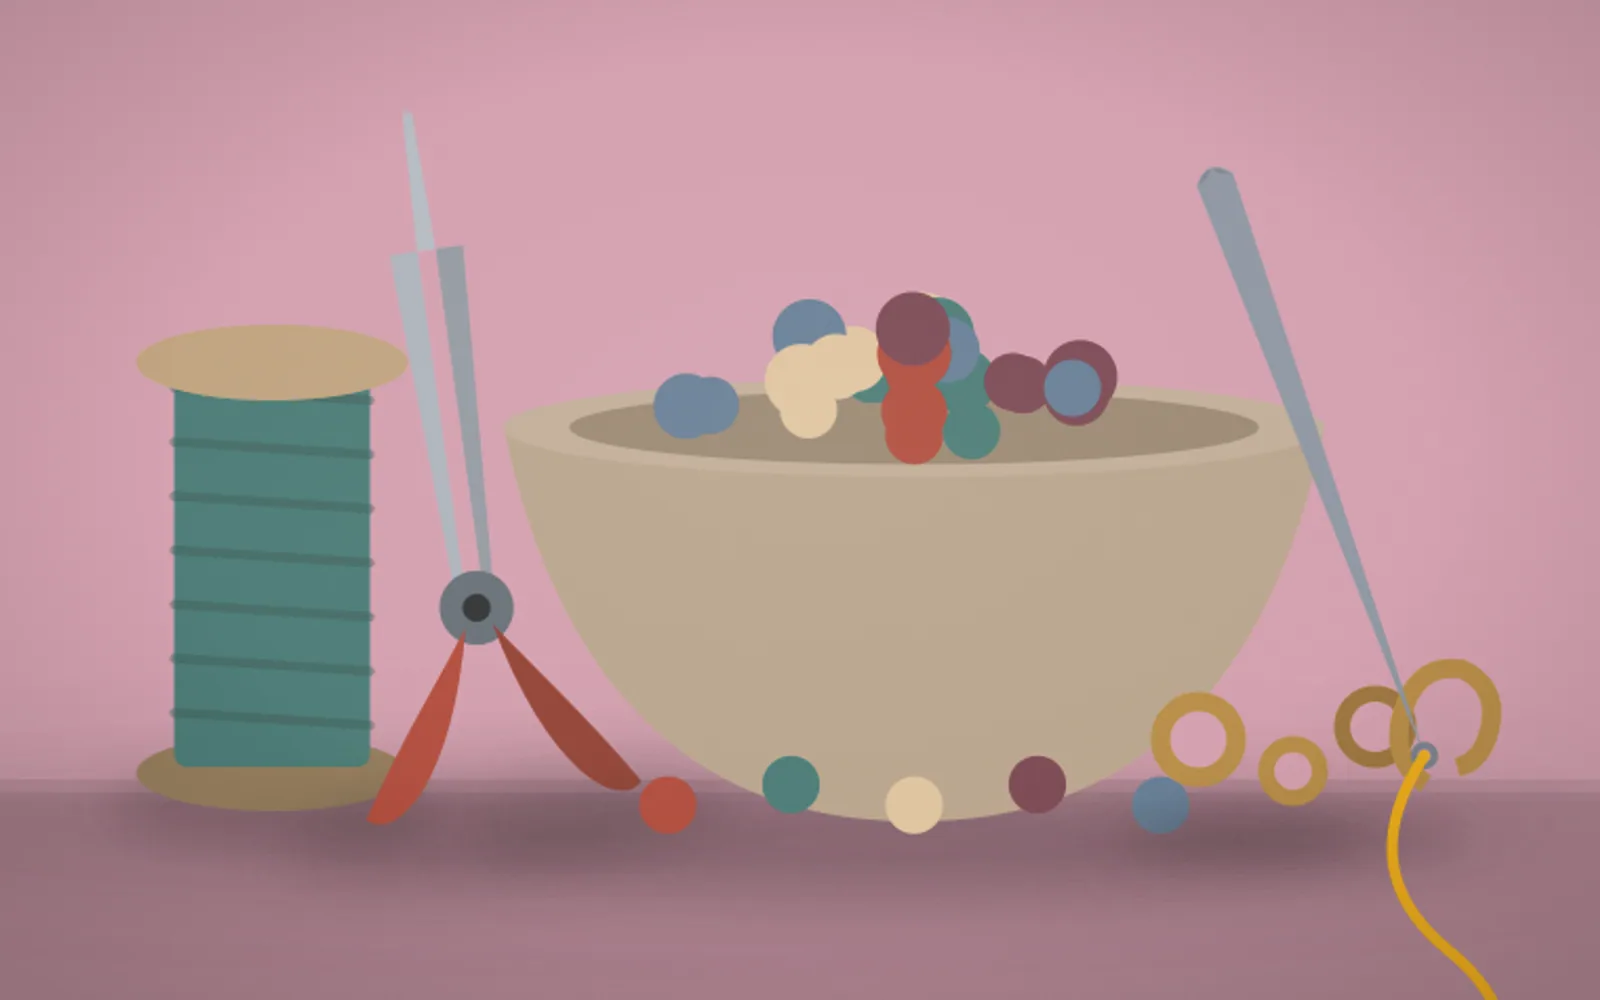
Includes: Beads, thread/wire, needles, clasps, crimp beads, pliers, storage boxes. Example: Starter kits run under €30. A full beading setup with premium materials and tools may rise to €150+. Specialty gemstone beads or gold findings can raise the cost further.
What it is
Beads are older than almost any other made object humans still use the same way. The oldest known examples, shaped from snail shells, are over 100,000 years old, which means people were stringing beads long before farming, writing, or cities. Beaded jewellery is one of the oldest creative acts there is, and the basic gesture has barely changed.
You string beads one at a time, choosing colours, shapes, and patterns, until something wearable takes shape. A stack of bracelets, a simple choker, a pair of mismatched earrings. The barrier is almost nothing: beads, some thread or stretchy cord, and you are working. From there you can stay simple or move into wire wrapping, loom weaving, or fine bead embroidery.
Beginners almost always start with stretchy cord because it forgives mistakes; if the pattern goes wrong, you unstring it and start over. A starter kit runs under €30, while a full setup with quality tools and gemstone beads can climb past €150. The common frustration is bracelets falling apart, which usually traces to a slipped knot or cord too light for the bead weight. A double or surgeon's knot with a dab of glue fixes most of it.
The craft carries deep cultural weight, from Native American beadwork used to record stories and identity to the bold beadwork of the Maasai. Today it spans cheap kits and museum-grade artisan pieces alike.
How it works
If you're using stretchy cord, the knot is the whole game, so know this before you string a single bead. Elastic fails at the knot, not the middle, and a single overhand knot will slip and pop within a few wears. You need a surgeon's knot, an extra twist on the first pass, finished with a dab of clear jewellery glue. Get that right and the rest is easy.
Lay out your design before stringing. A bead mat or design board with grooves stops everything rolling away and lets you see the colour and spacing flow first. Choose your stringing material to match the beads: elastic for casual stretch bracelets, nylon thread like FireLine for woven work, fine wire for structured pieces. Heavy stone or metal beads need a sturdier cord than light glass seed beads, and a mismatch there is why bracelets sag or snap.
String in the order you laid out, then finish according to your material. For elastic, tie the surgeon's knot, glue it, and tuck the knot inside an adjacent bead to hide it. For a clasp, crimp beads lock the wire ends, squeezed flat with pliers so the loop holds. What experienced beaders do is leave a little slack on elastic, because cord stretched tight while stringing snaps faster once worn.
Benefits
What you need
Here's what to gather before you start. The essentials are marked.
Some links below are affiliate links. As an Amazon Associate, trylii.com earns from qualifying purchases, at no extra cost to you.
FAQs
Beads, a stringing material, and findings. For stretch bracelets you need only beads and elastic cord, which is the simplest entry point. For necklaces and bracelets with clasps, add beading wire, crimp beads, and a pair of pliers. A basic kit costs €15-25. Buy a bead mat too, a cheap felt square that stops beads rolling off the table, which saves a lot of crawling around the floor.
Cheap or thin elastic, and knots that come undone. Use a quality stretch cord at least 0.8mm thick for everyday bracelets, and double-knot the ends with a surgeon's knot rather than a single tie. A dab of jewellery glue on the knot, tucked inside an adjacent bead, holds it for good. Beads with sharp drilled holes also cut the elastic over time, so run a bead reamer through rough holes before stringing.
Crimp beads and crimp covers. For wire-strung pieces, thread a crimp bead, pass the wire through the clasp loop and back through the crimp, then flatten the crimp with pliers to lock it. A crimp cover snapped over the top hides it and mimics a small round bead. This is the single technique that separates a homemade-looking piece from a finished one, and it takes ten minutes to learn.
Start with mixed assortment packs to learn what you like, then buy specific colours in bulk once you have a style. Local craft shops are convenient but pricey per bead. Online bead suppliers and bead shows offer far better value for quantity. Avoid the temptation to buy hundreds of euros of beads before you know what you will actually use, because tastes shift fast once you start making pieces.
You might also like
 CRAFT
Soy wax melts
CRAFT
Soy wax melts
 CRAFT
Handmade jewellery
CRAFT
Handmade jewellery
 CRAFT
Bath bomb making
CRAFT
Bath bomb making
 CRAFT
Wire-wrapping stones
CRAFT
Wire-wrapping stones
 CRAFT
Origami
CRAFT
Origami
 CRAFT
Latch hook rugs
CRAFT
Latch hook rugs
 CRAFT
Chainmaille jewellery
CRAFT
Chainmaille jewellery
 CRAFT
Acrylic pouring
CRAFT
Acrylic pouring
 CRAFT
Leather jewellery
CRAFT
Leather jewellery
 CRAFT
Whittling spoons
CRAFT
Whittling spoons
 VISUAL
Gouache painting
VISUAL
Gouache painting
 MIND
Learning a card trick repertoire
See all in Craft & Creative Hands
MIND
Learning a card trick repertoire
See all in Craft & Creative Hands