Building simple wheeled robots
CostLow to Medium
Includes: An Arduino 2WD kit, Raspberry Pi robot kit, or Lego Mindstorms. Example: A basic Arduino 2WD kit costs €15-30.
What it is
A line-following toy robot and a self-driving car run on the same loop: sense, decide, act, repeat. The scale and the hardware differ enormously, but the ideas are identical, which is exactly why a cheap wheeled robot is such a good place to start learning robotics.
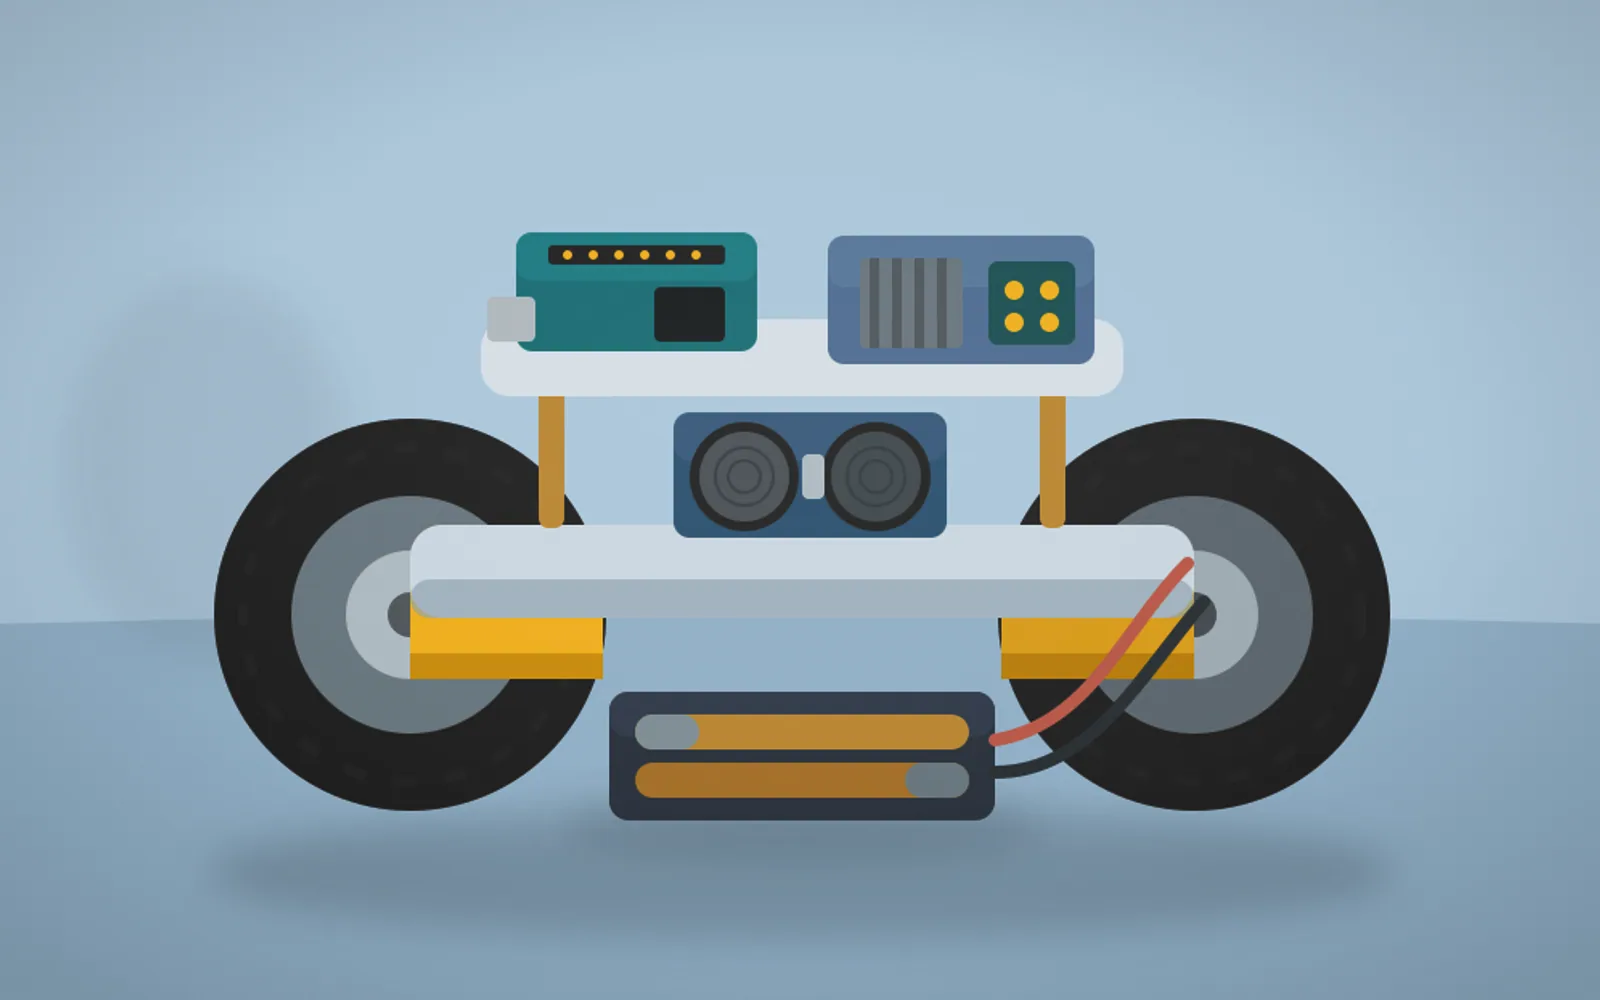
Building simple wheeled robots means constructing small two- or four-wheeled vehicles with microcontroller brains, an Arduino, a Raspberry Pi, or a board like the micro:bit, that you program to navigate, avoid obstacles, follow lines, and respond to sensors. Wheeled robots are the gateway to control systems, sensor fusion, and autonomous behaviour. You can take two routes. A kit, such as the Arduino 2WD Smart Car at €15 to €25, supplies a chassis, motors, wheels, a driver board, and a distance sensor, with documented assembly that removes the variables that trip up beginners. A scratch build develops deeper understanding of motor control, gear ratios, and chassis design. Both end somewhere genuinely rewarding: a thing you built that moves intelligently through the world.
The learning ladder is satisfyingly clear. Get it driving forward and turning first, then add the ultrasonic sensor so it stops or turns before a collision, then a line-sensor array so it follows a track, then Bluetooth or Wi-Fi for phone control. Each addition teaches a distinct concept, from PID control to wireless communication. The upgrade that punches above its weight is motor encoders, which measure how far the wheels actually turned rather than assuming, and they noticeably sharpen straight-line driving and turning accuracy even at beginner level.
How it works
The biggest early decision is kit versus scratch build, and for a first robot the kit wins clearly. An Arduino 2WD Smart Car kit at €15 to €25 gives you a matched chassis, two geared motors, wheels, an L298N motor driver, and usually an ultrasonic sensor, which removes all the variables that strand beginners before they write a line of code. A scratch build teaches more about gear ratios and chassis design but adds a dozen ways to fail first. Start with the kit; build from scratch once you know how the parts interact.
Assemble the chassis, mount the motors, and wire the L298N driver between the Arduino and the motors, because the motors draw far more current than an Arduino pin can supply and connecting them directly destroys the board. The driver takes direction signals on its input pins and a PWM speed signal on its enable pins, so your first code just drives forward, reverses, and turns by setting motor directions and speeds. Get that working before adding anything else.
Then the capability ladder begins. Add the ultrasonic sensor so the robot stops or turns before a collision, then a line-sensor array to follow a track, then a Bluetooth or Wi-Fi module for phone control, each step teaching a distinct concept. The upgrade that punches above its weight is wheel encoders, which measure how far the wheels actually turned rather than assuming, and they noticeably sharpen straight-line driving and turn accuracy because no two motors are ever perfectly matched.
Benefits
What you need
Here's what to gather before you start. The essentials are marked.
Some links below are affiliate links. As an Amazon Associate, trylii.com earns from qualifying purchases, at no extra cost to you.
FAQs
A two-wheeled robot with a caster at the back, driven by an Arduino. This classic layout needs two motors, a motor driver board, a battery, and a chassis, and it teaches every fundamental: movement, steering by varying wheel speed, and basic control. My first one just drove in patterns I programmed, which sounds simple but covers most of what robotics is built on. Kits bundle all the parts to save the sourcing headache.
Either works, and a kit is the gentler start. A beginner robot kit (around €30 to €60) includes a chassis, motors, wheels, and a driver board that all fit together, removing the guesswork. Sourcing separately is cheaper and more flexible once you know what you want, but matching motor voltages, driver ratings, and mounting holes trips up beginners. I learned on a kit, then built my second robot from scavenged parts.
The two motors aren't running at quite the same speed. No two cheap DC motors are identical, so equal commands produce slightly unequal speeds and the robot veers. The fix is either trimming one motor's speed in code until it tracks straight, or adding wheel encoders that measure actual rotation and correct it automatically. I started with the simple code trim, which is good enough for most projects.
An Arduino for simple robots, a Raspberry Pi for complex ones. The Arduino reads sensors and drives the motors through a driver board, programmed in a simplified C you upload over USB. It is more than enough for line-following, obstacle avoidance, and remote control. I only reach for a Raspberry Pi when a project needs a camera, heavy processing, or networking, since the Arduino handles real-time motor control more reliably.
Depends on the motors, but expect 30 minutes to a couple of hours of active driving. Motors are the big drain. I use rechargeable AA packs or a small lithium pack, keeping the motor supply separate from the controller supply so motor surges don't reset the Arduino. That separation fixed a baffling problem where my robot kept rebooting mid-drive, which turned out to be the motors browning out the controller.
You might also like
 SKILL
DIY magnetic levitation toys
SKILL
DIY magnetic levitation toys
 SKILL
DIY electromagnet experiments
SKILL
DIY electromagnet experiments
 SKILL
Repairing electronics or appliances
SKILL
Repairing electronics or appliances
 SKILL
Servo-controlled puppet
SKILL
Servo-controlled puppet
 SKILL
Building kinetic sculptures
SKILL
Building kinetic sculptures
 SKILL
DIY microscope builds
SKILL
DIY microscope builds
 SKILL
Designing and printing circuit boards (PCBs)
SKILL
Designing and printing circuit boards (PCBs)
 SKILL
Learning basic soldering
SKILL
Learning basic soldering
 SKILL
Rewiring lamps or small devices
SKILL
Rewiring lamps or small devices
 SKILL
Making a text adventure game
SKILL
Making a text adventure game
 CRAFT
Hand sewing (no machine)
CRAFT
Hand sewing (no machine)
 TOGETHER
Poetry and open mic night
See all in Skill & Curiosity
TOGETHER
Poetry and open mic night
See all in Skill & Curiosity