Creative phone photography
CostLow
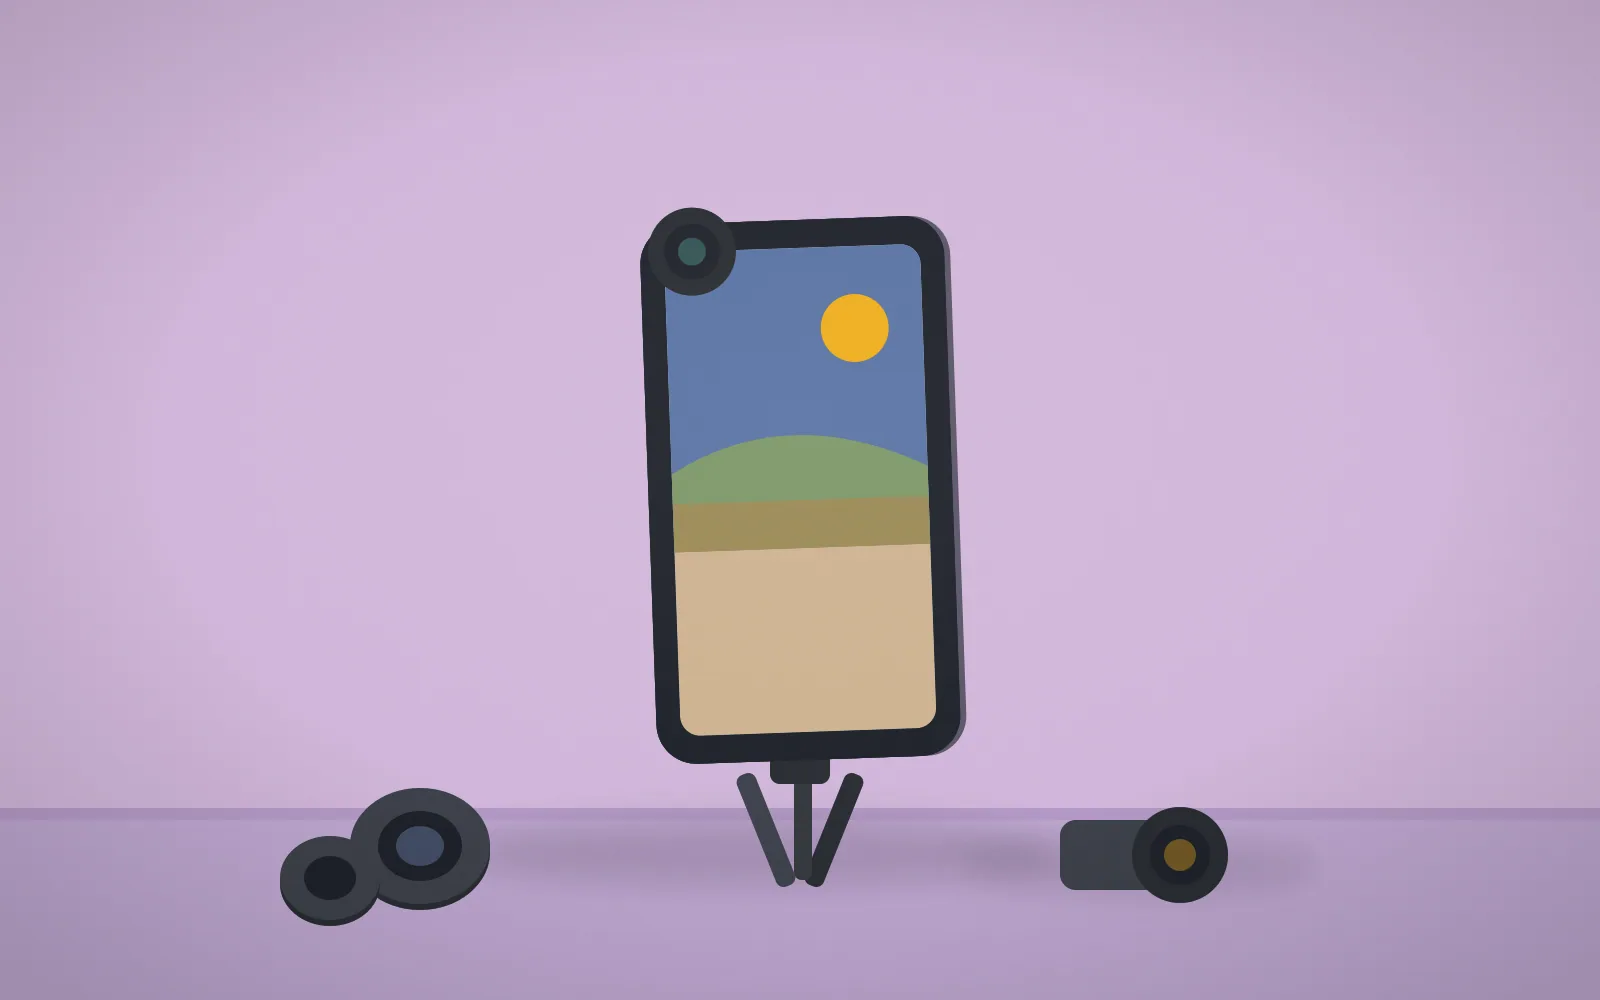
Includes: editing apps, optional lenses or tripod Example: Snapseed is free; Moment lenses or tripods run from ~€50–100.
What it is
The best camera is the one in your pocket, and it is far more capable than most people ever ask it to be. Phone photography is not a compromise on real photography. It is real photography with the gear barrier removed.
Creative phone photography is about using the camera you already carry to make deliberate, interesting images rather than casual snapshots. Modern phones pack genuinely sophisticated cameras: multiple lenses, computational processing that handles low light, and manual controls hidden one tap away. The creative work is the same as it has always been, composition, light, timing, point of view, and learning to see, which the phone does nothing to teach you and everything to enable.
The advantages over a dedicated camera are real and underrated. The phone is always with you, so you catch moments a bag-bound camera would miss. It is discreet, which suits street photography. And it connects directly to editing apps and sharing, collapsing the whole workflow into one device. The constraint of a fixed, small sensor pushes you toward the things that actually matter in a photograph, light and composition, rather than letting you lean on expensive glass.
Where it genuinely falls short is worth being honest about. The small sensor struggles in very low light despite clever processing, the zoom is mostly digital cropping that degrades quality, and the heavy automatic processing can make images look artificial. Learning to work within these limits, shooting in good light, getting physically closer instead of zooming, using the manual or "pro" mode to control exposure, is what separates striking phone photos from forgettable ones.
The editing is half the craft. Apps like Snapseed (free) and Lightroom Mobile let you adjust exposure, colour, and contrast with control that rivals desktop software, and a thoughtful edit transforms a flat phone snap into something with real presence.
How it works
Light is the tool that frames every phone photo, and learning to chase it changes results overnight. Phone sensors are small, so they thrive in good light and struggle in poor light far more than a big camera does. Soft window light or the hour after sunrise and before sunset flatters almost any subject, while harsh midday sun and dim indoor bulbs are the hardest conditions. Position yourself so the light falls on your subject, not behind it.
Tap to focus and then slide the exposure, the little sun icon, up or down before shooting. This single habit fixes the most common phone-photo failure, a blown-out sky or a subject lost in shadow, because the phone's automatic guess is often wrong. Lock focus and exposure by holding the tap until it confirms, so a slight reframe does not send the camera hunting again.
Composition tools built into the camera cost nothing and lift photos immediately. Turn on the gridlines and place key elements along the lines or where they cross, rather than dead centre. Get physically closer or change your height, crouching low or shooting from above, instead of relying on the zoom, which on most phones just crops and degrades the image. Moving your feet beats pinching the screen.
Benefits
What you need
Here's what to gather before you start. The essentials are marked.
Some links below are affiliate links. As an Amazon Associate, trylii.com earns from qualifying purchases, at no extra cost to you.
FAQs
A phone is genuinely enough for excellent work, and the limits are mostly creative, not technical. Modern phone cameras are extraordinary, and the constraints of a fixed lens often push more creative thinking than a bag full of gear. Professional photographers shoot published work on phones. The phrase that holds up is that the best camera is the one you have with you, and you always have your phone.
Start by turning on the gridlines and tapping to set focus and exposure, then explore from there. The grid helps you compose using the rule of thirds, and tapping the screen to focus also lets you drag the exposure up or down, which is the single most useful control most people ignore. Shooting in your camera's RAW or Pro mode, if it has one, gives far more room to edit later. Avoid the digital zoom, which just crops and degrades the image.
Get physically close to your subject and put distance behind it. Phones fake background blur in Portrait mode, which works but can look artificial at the edges, especially on hair. The more reliable way is optical: move close to your subject with a lot of empty space behind it, and the background softens naturally. A genuine close-up with real distance behind it beats a faked blur most of the time.
A couple cover almost everything. Snapseed (free, made by Google) is powerful and the standard recommendation for serious phone editing, with selective adjustments and fine control. Lightroom Mobile (free tier available) is excellent if you shoot RAW. The key skill is restraint, since the most common beginner mistake is oversaturating and over-sharpening until photos look unnatural. Subtle edits age far better than heavy filters.
Pay attention to light before anything else. Beginners obsess over the subject and ignore the light, but where the light comes from and how soft it is matters more than what you point the camera at. Shoot in the soft light near sunrise and sunset, avoid harsh midday sun, and learn to see light as the actual subject. After light, simplifying your compositions (fewer elements, cleaner backgrounds) is the next biggest jump.
You might also like
 VISUAL
Coloured pencil realism
VISUAL
Coloured pencil realism
 VISUAL
Image transfer techniques
VISUAL
Image transfer techniques
 VISUAL
Pastels (oil or chalk)
VISUAL
Pastels (oil or chalk)
 VISUAL
Brush lettering
VISUAL
Brush lettering
 VISUAL
Painted rocks
VISUAL
Painted rocks
 VISUAL
Video journaling
VISUAL
Video journaling
 VISUAL
DIY stop-motion animation
VISUAL
DIY stop-motion animation
 VISUAL
Procreate illustration
VISUAL
Procreate illustration
 VISUAL
Mixed media art journaling
VISUAL
Mixed media art journaling
 VISUAL
Astrophotography for beginners
VISUAL
Astrophotography for beginners
 CRAFT
Quilting
CRAFT
Quilting
 MIND
Learning an instrument
See all in Visual & Digital Arts
MIND
Learning an instrument
See all in Visual & Digital Arts