Scrapbooking
CostLow
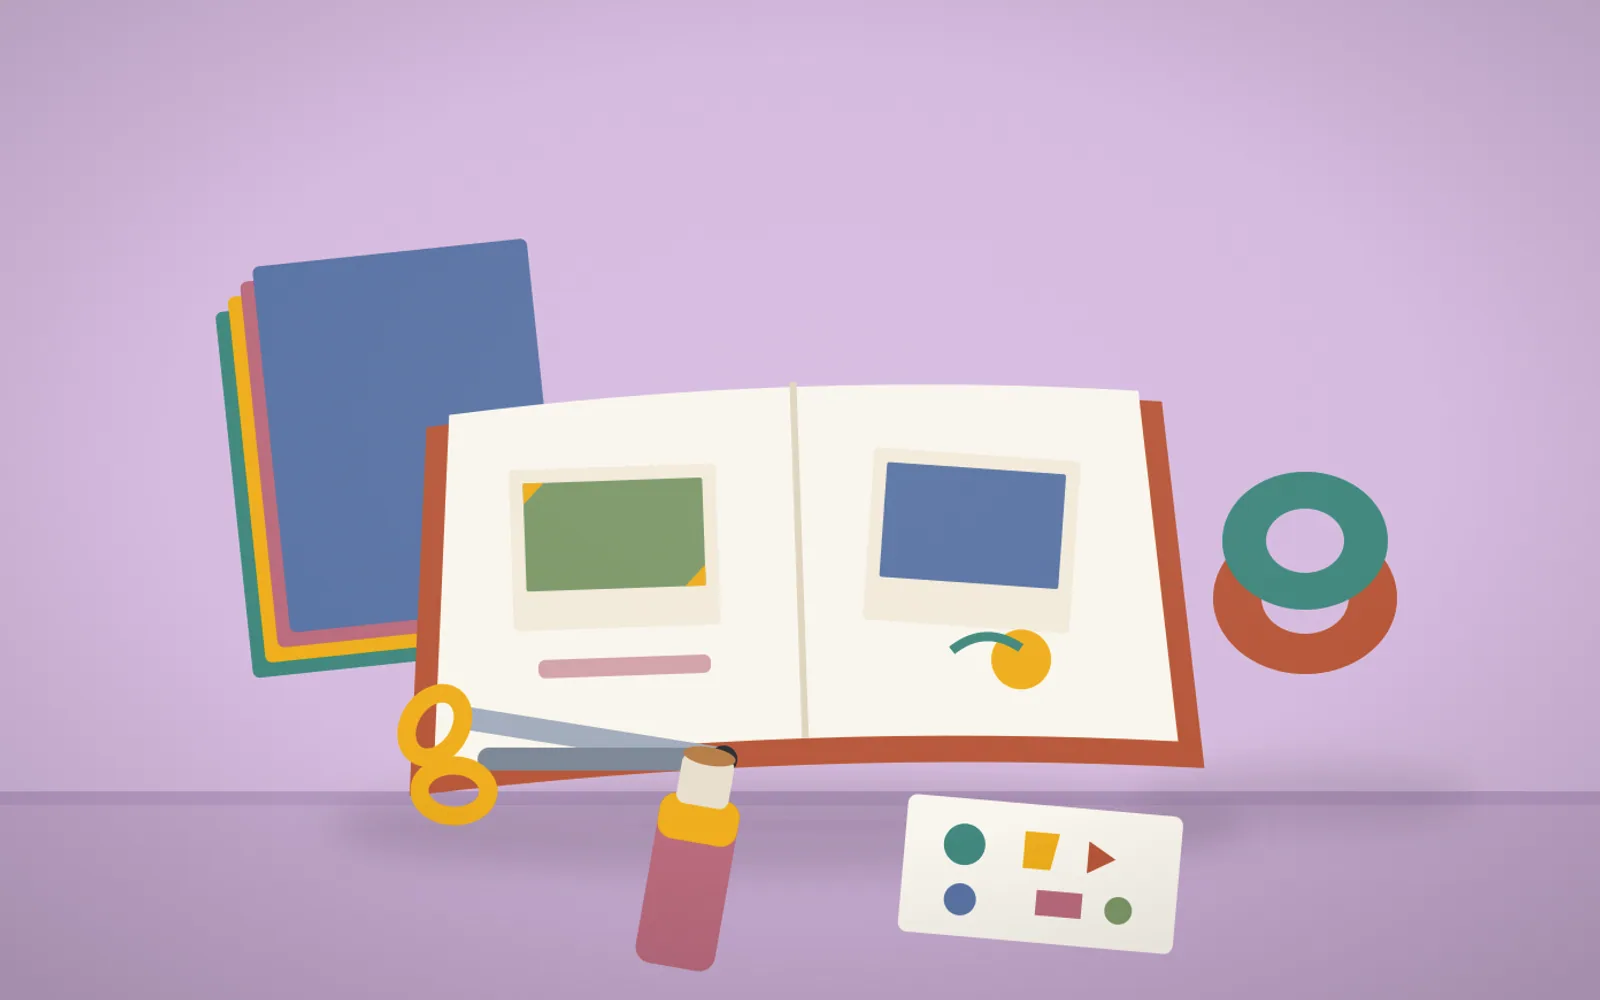
Includes: Album, paper, pens, photos, scissors, glue, embellishments Example: A simple DIY journal and pen setup can cost under €20; bigger setups with patterned paper and tools can stretch higher.
What it is
A box of loose photos is just storage. A scrapbook is a decision about which moments mattered and how they connect. The craft is less about decoration than about editing a life down to the parts worth keeping in arm's reach.
Scrapbooking is the art of arranging photos, mementoes, and written notes onto pages, then decorating those pages with patterned paper, stickers, stamps, washi tape, and hand lettering. The result is part photo album, part journal, part keepsake. Where a phone holds thousands of images you will never look at again, a scrapbook holds a curated few, with the context, the date, the funny detail, written down so it does not vanish.
The materials are an entire industry. Acid-free paper and adhesives are the one non-negotiable, because ordinary paper and glue contain acids that yellow and eat photographs over the years. Beyond that, the craft sprawls into specialist scissors, decorative punches, stamp sets, and patterned paper packs. A starter haul runs €30 to €50, though many people accumulate far more over time, and the supply-collecting can quietly become as much of the pursuit as the making.
The honest downside is that it is slow and it consumes space. A single elaborate two-page spread can take an evening, and the finished albums are bulky things that need shelf room. People who love it tend to love the process as much as the object, treating the cutting and arranging as the relaxing part rather than a means to an end.
How it works
Choose acid-free and lignin-free materials before buying a single sheet of paper, because this is the decision that determines whether your album survives the decade. Ordinary craft paper contains acids that yellow and eat into photographs over years, and the damage is irreversible. Anything labelled archival or acid-free, including the adhesive, keeps photos safe. This matters more than any decorative choice you will make.
Work to a loose plan per page rather than gluing as you go. Lay everything out first, photos, paper, embellishments, and shuffle it around until the arrangement reads well, then glue once you are happy. Photo corners or a removable adhesive let you reposition, while a permanent runner is for the final commitment. The classic beginner regret is gluing a photo down crooked or in the wrong spot with permanent adhesive.
Matting a photo, mounting it on a slightly larger piece of coloured card before sticking it to the page, instantly lifts it and frames it. Leave white space rather than filling every gap, since a crowded page tires the eye. Three photos arranged with room to breathe beats nine crammed edge to edge. Journaling, even a date and a sentence, is what people treasure most years later.
Benefits
What you need
Here's what to gather before you start. The essentials are marked.
Some links below are affiliate links. As an Amazon Associate, trylii.com earns from qualifying purchases, at no extra cost to you.
FAQs
Less than the craft shops want you to believe. At the core: an album, some patterned paper, photos, adhesive, and scissors. A 12x12 inch ring album is the standard size and gives you room to work. Everything else (punches, stamps, die-cutting machines, embellishment kits) is optional and easy to over-buy before you know your style. Start with one album and a few sheets of paper you actually like.
It can spiral, which is the honest warning. The base materials are cheap, but the industry sells endless coordinated kits, tools, and embellishments, and it is easy to spend more than you ever will on the photos themselves. The people who keep it affordable buy paper and stickers in small amounts for specific projects rather than stockpiling. A single die-cutting machine like a Sizzix runs €80-150 if you eventually want one, but you do not need it to begin.
Only if you use the wrong ones, and this matters more than anything else. Use adhesives and papers labelled acid-free and lignin-free, because acidic materials yellow and eat into photographs over years. Use photo-safe mounting corners or acid-free tape rather than ordinary glue or sticky tape. This is the one corner not worth cutting, since the whole point is preserving the photos for decades.
Limit yourself. The most common beginner mistake is cramming too much onto one page, which always looks cluttered. Pick two or three coordinating colours, use plenty of empty space, and let one photo be the clear focal point. Sketching a rough layout before you stick anything down saves a lot of regret. Copying a layout you admire and swapping in your own photos is a completely legitimate way to learn.
Depends what you enjoy. Digital scrapbooking is cheaper long-term, mistake-proof, and reprintable, but you lose the tactile, hands-on quality that draws many people to the craft in the first place. Physical scrapbooking is messier, costs more, and cannot be undone, yet the finished album is a real object with texture and weight. Some people do both, designing digitally and keeping physical albums for the things that matter most.
You might also like
 VISUAL
Storyboarding a short film or animation
VISUAL
Storyboarding a short film or animation
 VISUAL
Ink drawing
VISUAL
Ink drawing
 VISUAL
Linocut block printing
VISUAL
Linocut block printing
 VISUAL
Macro photography at home
VISUAL
Macro photography at home
 VISUAL
Designing enamel pins
VISUAL
Designing enamel pins
 VISUAL
Black & white photography projects
VISUAL
Black & white photography projects
 VISUAL
Collage art
VISUAL
Collage art
 VISUAL
Drone videography basics
VISUAL
Drone videography basics
 VISUAL
Nature photography walks
VISUAL
Nature photography walks
 VISUAL
Colouring books for adults
VISUAL
Colouring books for adults
 WILD
GPS navigation skills
WILD
GPS navigation skills
 MIND
Digital declutter routine
See all in Visual & Digital Arts
MIND
Digital declutter routine
See all in Visual & Digital Arts