Making patchwork throws or blankets
CostLow
Includes: fabric scraps, thread, batting (optional). Example: upcycled fabrics = free; batting €15-30; backing fabric €10-20.
What it is
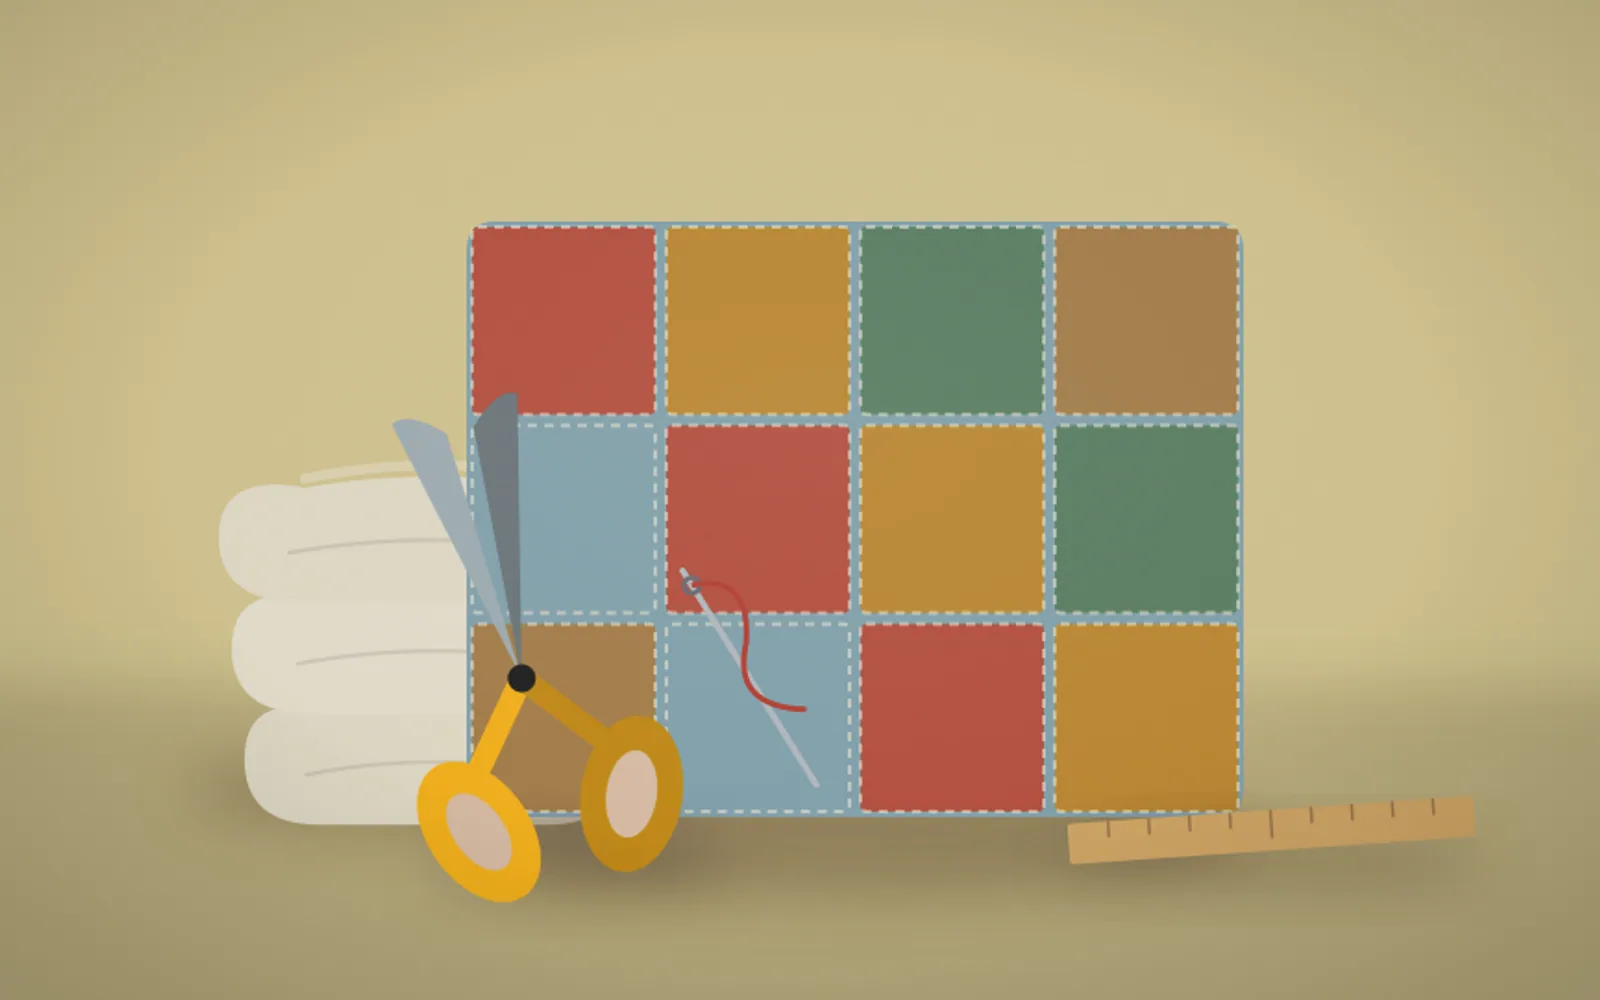
A throw made from forty fabric squares can use scraps that would otherwise go in the bin, and a quilt is, at heart, a way of saving cloth. The patchwork tradition began as thrift, stitching the usable parts of worn-out clothes and offcuts into something warm.
Making patchwork throws or blankets means sewing together pieces of fabric, usually squares or simple shapes, into a larger panel, then often layering it with wadding and a backing to make a quilt. At the simplest end it is a patchwork top of joined squares used as a light throw. At the fuller end it is a three-layer quilt, the patchwork top, a wadding middle, and a backing, held together by quilting stitches. Both turn a collection of fabrics into something warm and personal.
The single most important skill is the consistent seam allowance, and it is the thing beginners most often get wrong. Quilting works to a precise quarter-inch seam, and if that wavers, the squares will not line up at their corners and the whole top puckers and refuses to lie flat. Sewing slowly with a guide, and pressing each seam before joining the next, is what keeps the grid square. Patchwork is unforgiving of sloppiness in a way that hides nothing.
Pressing, not ironing, is the other quiet discipline. Quilters press seams by lifting and lowering the iron rather than sliding it, because sliding stretches the bias of the fabric and distorts the pieces. It feels fussy, but it is the difference between crisp, flat patchwork and a wavy, stretched mess.
The reward is a heirloom-grade object made largely from materials that cost little or nothing. Old shirts, fabric remnants, a child's outgrown clothes, all can be cut into squares and stitched into a throw that carries the memory of where each piece came from. It is slow work, genuinely a project of weeks rather than an afternoon, but few homemade things are treasured as long as a hand-made quilt.
How it works
Pressing is the boring step that makes or breaks patchwork, and skipping it is why a first quilt comes out wonky. Every seam gets pressed before the next is sewn, because a patchwork top is built from precise straight seams, and unpressed seams throw the alignment off cumulatively until nothing matches. Iron as you go, not at the end.
The cutting needs the same precision. A rotary cutter, a self-healing mat, and a clear quilting ruler let you cut accurate strips and squares far faster and straighter than scissors, and accuracy here is everything because small errors multiply across dozens of pieces. The classic beginner's "quarter-inch seam" rule exists because consistent seam allowance is what makes the blocks finish the right size and fit together.
Layout comes before sewing, laid out on the floor or a bed. Arranging all the blocks before stitching lets you balance the colours and spot two similar fabrics sitting awkwardly next to each other, which is impossible to fix once sewn. Photograph the final arrangement so you can rebuild it block by block as you sew rows together.
The three layers, top, wadding, and backing, get "sandwiched" and held with pins or basting spray before quilting. Quilting through all three is what turns a flat top into a quilt, and the stitching, by hand or machine, both holds the layers and adds texture. A simple version skips wadding entirely for a lighter patchwork throw.
The binding is the final frame and the mark of a finished piece. A folded strip sewn around the raw edge encloses it and gives the clean border that makes the whole thing look intentional, and mitred corners are the detail that signals care.
Benefits
What you need
Here's what to gather before you start. The essentials are marked.
Some links below are affiliate links. As an Amazon Associate, trylii.com earns from qualifying purchases, at no extra cost to you.
FAQs
A machine helps for speed, but hand-sewing works fine for a small throw. I made my first patchwork entirely by hand over a few evenings, since the running stitch holding squares together is simple and meditative. A machine just makes long seams faster. For a full-size quilt, a machine saves a lot of time, but a lap throw is perfectly doable by hand.
Cut precisely and keep a consistent seam allowance. The classic beginner problem is wobbly cutting and varying seams, which compound across a blanket into a wonky mess. I use a rotary cutter and a quilting ruler for clean, identical squares, and I stick religiously to a 1cm (or quarter-inch) seam throughout. Pressing each seam as I go keeps everything flat and true.
Quilting-weight cotton is ideal, and old clothes and offcuts work beautifully too. Patchwork began as thrift, stitching the usable parts of worn-out clothes, so a stash of cotton shirts and dress fabric is a perfect free source. I avoid mixing very stretchy or heavy fabrics with light cottons in the same throw, since they pull unevenly and distort the seams.
A simple lap throw is a weekend or a few evenings; a full quilt is a long-term project. The cutting and piecing of forty-odd squares goes quicker than people expect, but quilting the layers together and binding the edge add time. I treat a throw as a satisfying short project and a proper bed quilt as something I chip away at over weeks.
You can leave it as a single pieced layer for a light summer throw, which skips the hardest part. For warmth and durability, adding a layer of wadding and a backing, then quilting through all three, makes it a proper blanket. I sometimes just back a pieced top with a soft fleece and tie it at the corners of each square, which is far quicker than full quilting.
You might also like
 HOME
Stenciling fabric curtains
HOME
Stenciling fabric curtains
 HOME
Upcycled lamp projects
HOME
Upcycled lamp projects
 HOME
Handmade holiday decor
HOME
Handmade holiday decor
 HOME
Upcycling jars for pantry use
HOME
Upcycling jars for pantry use
 HOME
Homemade dish soap
HOME
Homemade dish soap
 HOME
Painting floor tiles or stencils
HOME
Painting floor tiles or stencils
 HOME
Mason jar solar lights
HOME
Mason jar solar lights
 HOME
Re-covering chair cushions
HOME
Re-covering chair cushions
 HOME
Photo organising and archiving
HOME
Photo organising and archiving
 HOME
Bottle/can painting or recycling crafts
HOME
Bottle/can painting or recycling crafts
 KITCHEN
Using wild garlic
KITCHEN
Using wild garlic
 KITCHEN
Cooking with kitchen scraps
See all in Made at Home
KITCHEN
Cooking with kitchen scraps
See all in Made at Home