Comic strip creation
CostLow
Includes: paper, pens, or digital tools Example: paper & pens (under €20); Canva free or Pro €120/year; drawing apps like MediBang Paint (free) or Clip Studio Paint (€50 one-time)
What it is
Two drawings of the same character side by side, one reacting to the other, and suddenly there is timing, a beat between them, a joke or a moment landing in the gap. A comic strip is storytelling that happens in the spaces between pictures as much as in the pictures themselves.
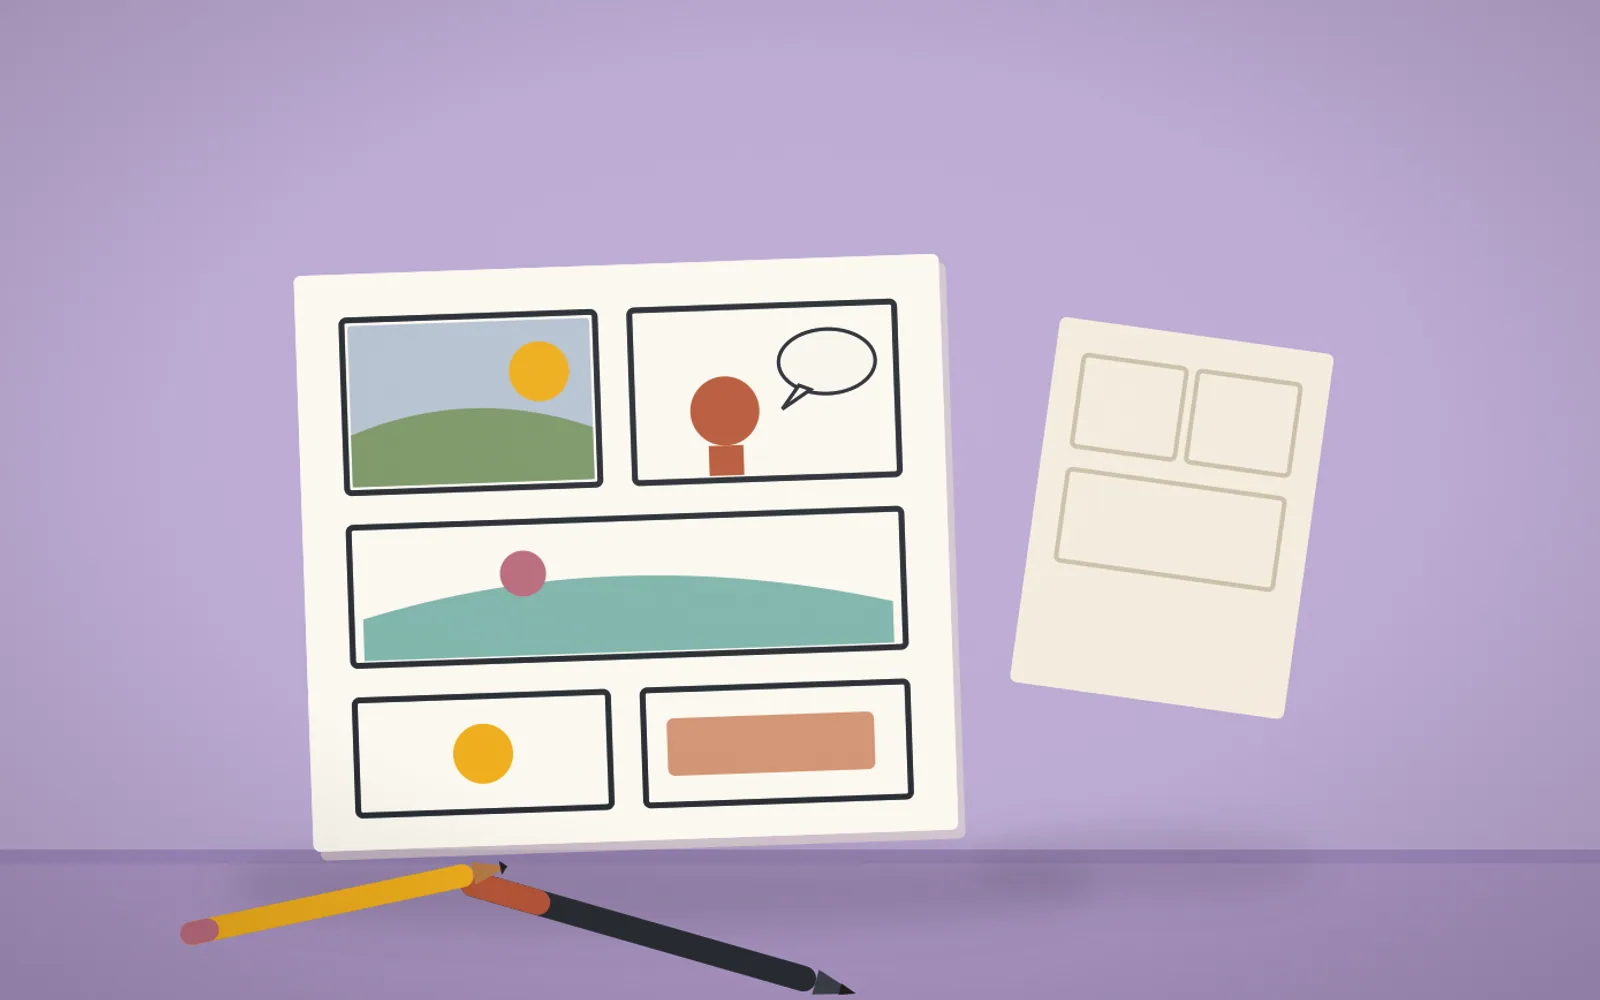
Comic strip creation is the practice of telling a short story or joke through a sequence of drawn panels, combining images and usually words to convey action, dialogue, and timing across a small number of frames. The classic form is the few-panel newspaper strip, a setup and a punchline, but it covers anything from single-panel cartoons to longer multi-row stories. The craft lives in the interplay of words and pictures and, crucially, in what happens in the gutters, the gaps between panels where the reader's mind fills in the action between one frame and the next.
The deceptively hard skill is pacing, not drawing ability. A strip works through how it breaks a moment into beats, what each panel shows, what it leaves out, where the pause before a punchline falls, how panel size controls timing. This is closer to stand-up timing or film editing than to fine art, which is why many beloved strips are drawn in a deliberately simple style.
The barrier to entry is low in both skill and materials. A pencil and paper is enough, and many famous strips use minimal, almost crude artwork to great effect, proof that expressive simplicity beats elaborate detail here. Digital apps make lettering and panelling easier but stay optional. The essential equipment is an idea and a sense of how to stage it.
The honest learning curve is in writing, not art. Coming up with strips that are genuinely funny or affecting, week after week, is the real challenge, and the discipline of working within a tight panel count forces a ruthless economy, every word and image has to earn its place, which is excellent training for any kind of visual storytelling.
How it works
Thumbnail the whole strip before drawing a single finished panel, because comic timing is built in the layout, not the artwork. Sketch the three or four panels tiny first, working out how the joke or beat lands, where the pause falls, and which panel gets the punchline. The gap between panels, where the reader's imagination fills the action, is a tool, and you can only feel it at the planning stage. Most flat strips fail here, not in the drawing.
Panel size and pacing control the rhythm. A wide panel slows time and lets a moment breathe, a narrow one quickens it, and the final panel usually wants a little extra space for the punchline to sit. The last panel is where comic strips live or die, so hold the reveal until then. Lettering matters as much as drawing, so plan space for speech bubbles from the start rather than cramming them in after, which is the most common beginner squeeze.
The art itself can be simple, since clarity beats detail in a small strip. Clear expressions and readable staging carry a gag better than rendering ever will. Pencil the panels, ink the lines, add the lettering, then erase the pencil. Whether you work on paper or digitally in something like Clip Studio Paint, the workflow is the same, and consistency of the characters across panels matters more than polish.
Benefits
What you need
Here's what to gather before you start. The essentials are marked.
FAQs
No, and many beloved comic strips use deliberately simple art. Stick figures, basic shapes, and minimal detail work perfectly well, because a comic strip lives on its writing, timing, and ideas far more than its draughtsmanship. I would rather read a funny strip drawn plainly than a beautiful one that falls flat. If you can draw the same character recognisably twice, you have enough to start.
Think in beats and save the punch for last. A classic strip is three or four panels, and the structure is setup in the early panels and payoff in the final one, so I plan the last panel first and work backwards to it. The gap between panels (where the reader's imagination fills in time passing) is a tool in itself. Pacing is everything, since the same joke succeeds or dies on where you place the reveal.
Either works, so use what you will actually pick up. On paper, a pencil, a black fineliner for inking, and a ruler for panel borders is the whole kit. Digitally, free software like Krita or an app like Procreate lets you draw, letter, and fix mistakes easily, with layers for separating text from art. I sketch loosely first, tighten the drawing, then add the lettering last so I can space it properly.
Letter first, then draw the bubble around the text, never the reverse. The amateur look comes from drawing a bubble and cramming text into it, which leaves awkward gaps or cramped words, so I write the lettering first and fit the bubble to it with a comfortable margin. Keeping text upright, evenly spaced, and reasonably sized matters as much as the drawing. Leaving room for the bubbles when I plan the panel stops them crowding the art.
You might also like
 VISUAL
Chalk art / sidewalk murals
VISUAL
Chalk art / sidewalk murals
 VISUAL
Encaustic wax art
VISUAL
Encaustic wax art
 VISUAL
Designing enamel pins
VISUAL
Designing enamel pins
 VISUAL
Painted rocks
VISUAL
Painted rocks
 VISUAL
Candid street photography
VISUAL
Candid street photography
 VISUAL
Webcomic creation
VISUAL
Webcomic creation
 VISUAL
Logo design basics
VISUAL
Logo design basics
 VISUAL
Creating mockup products (tote, mug, poster)
VISUAL
Creating mockup products (tote, mug, poster)
 VISUAL
Altered book art
VISUAL
Altered book art
 VISUAL
Oil painting
VISUAL
Oil painting
 COLLECT
Model airport diorama
COLLECT
Model airport diorama
 KITCHEN
Harvesting wild berries
See all in Visual & Digital Arts
KITCHEN
Harvesting wild berries
See all in Visual & Digital Arts