DIY lanterns or fairy lights
CostLow
Includes: string lights, jars/cans, craft materials Example: battery LED string lights €10-25, mason jars €2-5 each, craft supplies €10-30
What it is
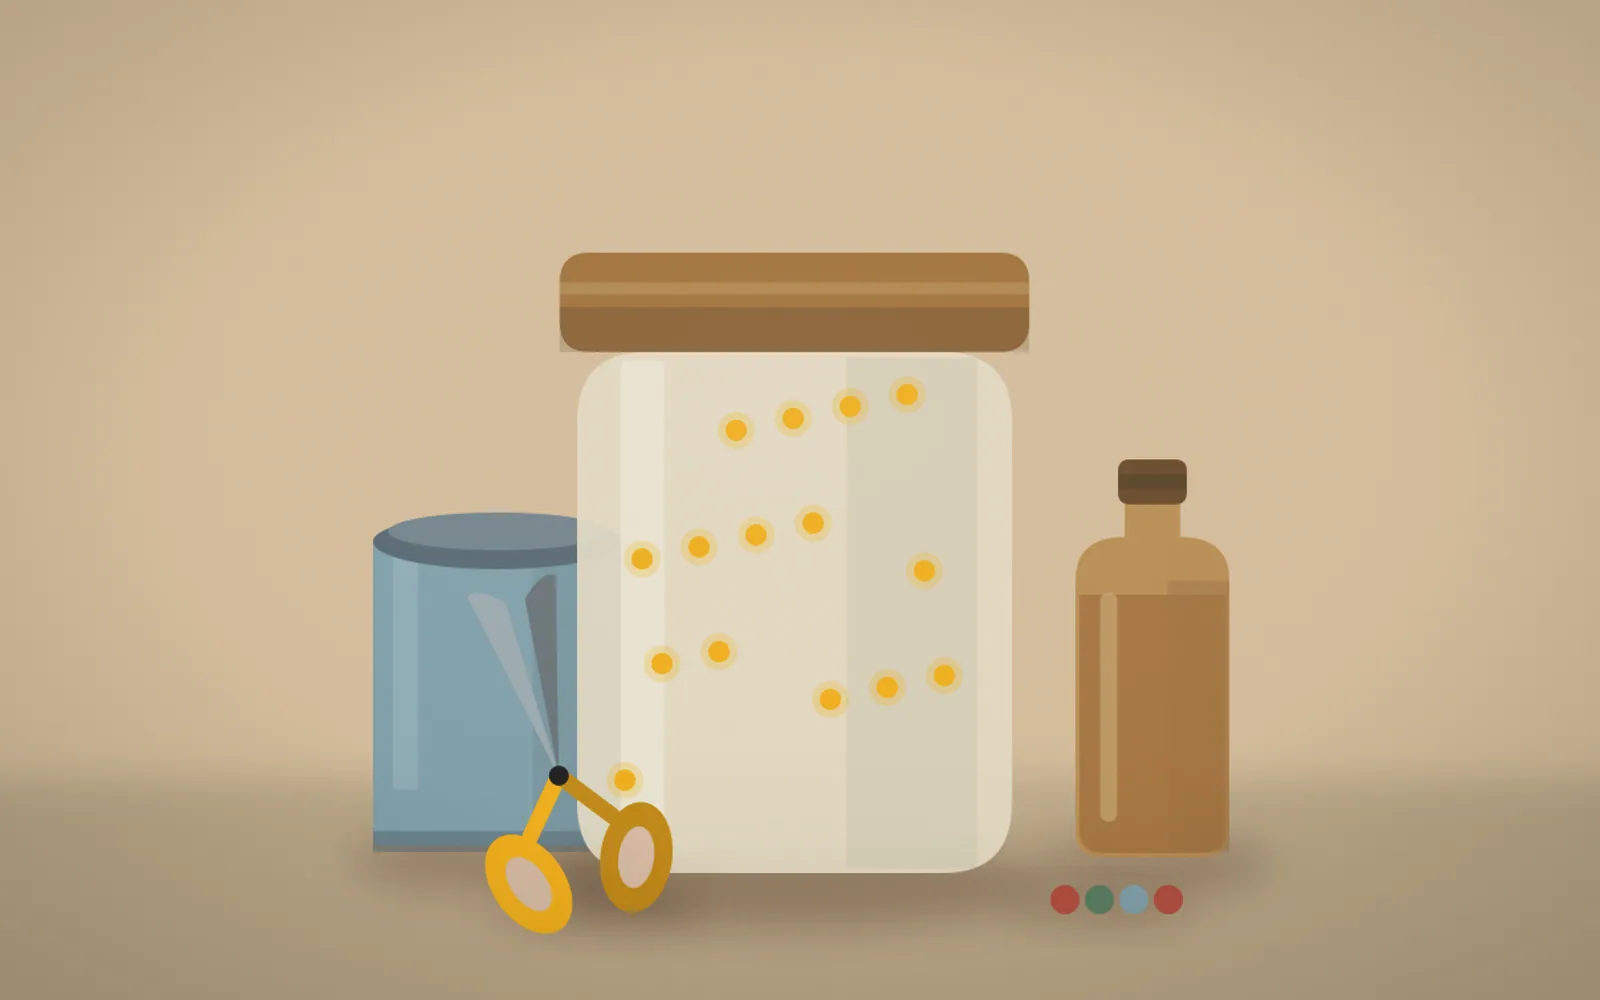
A jam jar, a string of battery fairy lights coiled inside, and a dark garden table become something quietly magical, and the whole thing cost the price of the lights and a jar you already had. That is the entire appeal of this project.
DIY lanterns or fairy lights covers making decorative lighting from simple materials: jars turned into lanterns with candles or LED strings, punched-tin lanterns that throw patterns of light, paper lanterns, and creative arrangements of fairy lights in bottles, frames, or along shelves. The aim is atmosphere, the warm, scattered, low-level light that transforms a room or an outdoor space in the evening far more than a single overhead bulb ever does.
The safety distinction is the one thing to be clear about, and it is simple. Real flames, tea lights in jars, need genuine care: a stable heatproof container, never left unattended, kept away from anything that can catch. Battery and LED fairy lights and flameless candles remove that risk entirely, which is why they have largely taken over, especially for paper lanterns, anything indoors near fabric, or anywhere children and pets roam. LEDs also stay cool, so they sit happily inside paper or close to flammable decorations.
Within those limits the creativity is wide open. A punched-tin lantern, made by hammering a nail pattern into a clean tin can filled with frozen water to stop it denting, throws beautiful pinpoints of light when lit. A row of mismatched jars with warm fairy lights lines a path or a windowsill. Coloured tissue glued inside a glass jar tints the glow. None of it costs much, and the result is the kind of soft, layered lighting that interior designers charge a fortune to achieve.
How it works
A glass jar and a tea light is the entire starting point for the simplest lantern, and the decoration is where it becomes yours. Frosting the glass with etching spray, wrapping it in lace and spraying over it for a stencilled effect, or gluing on tissue paper in the style of stained glass all transform a jam jar into something that throws patterned light across a wall.
For fairy lights, the decision that frames everything is battery versus mains and warm versus cool white. Battery LED string lights go anywhere with no socket and run cool to the touch, which matters when they are wound through paper or fabric, and warm white (around 2700K) gives the cosy glow that cool white never does. Copper-wire micro-LED strings are nearly invisible, so the light appears to float.
Combining the two gives the best effects. A cluster of fairy lights stuffed into a large glass jar or demijohn makes an instant light feature with no wiring, a string threaded through a garland lights a mantelpiece, and lights behind a frosted panel or inside a paper lantern diffuse into a soft glow. The trick is hiding the battery pack, tucked behind, taped under a shelf, or sunk into the base of the jar.
Benefits
What you need
Here's what to gather before you start. The essentials are marked.
Some links below are affiliate links. As an Amazon Associate, trylii.com earns from qualifying purchases, at no extra cost to you.
FAQs
Battery fairy lights or LED tea lights are far safer, especially anywhere unattended. I use coiled battery fairy lights inside jars because they give that warm glow with no fire risk and no heat. A real tealight in a wide, stable glass jar is fine if supervised on a non-flammable surface, but I never use a flame near fabric, dry foliage, or anywhere it could tip.
Coil them loosely around the inside rather than dumping them in a heap. I wind the string up the inside wall of the jar so the lights spread top to bottom, which gives an even glow instead of a bright clump at the base. Warm-white LEDs (around 2700K) look far cosier than the cold blue-white ones, which feel harsh in a jar.
Clear or lightly frosted glass, the wider the better for spreading light. Old jam and sauce jars are perfect once the labels are off, and a frosted finish (from frosting spray or a coat of watered-down PVA) softens and diffuses the light beautifully. I avoid heavily coloured or thick patterned glass, since it blocks too much of the glow.
The lights, only if they are rated for outdoor use; the jars, watch for water. Battery fairy lights marked IP44 or higher handle damp and rain, while indoor-only strings will short or corrode outside. I bring mine in if heavy rain is coming and keep the battery pack tucked somewhere dry, since that is the part that fails first when it gets wet.
You might also like
 HOME
Turning old t-shirts into rags or tote bags
HOME
Turning old t-shirts into rags or tote bags
 HOME
DIY wreaths for the seasons
HOME
DIY wreaths for the seasons
 HOME
Organising cords & cables
HOME
Organising cords & cables
 HOME
Photo organising and archiving
HOME
Photo organising and archiving
 HOME
Upcycling jars for pantry use
HOME
Upcycling jars for pantry use
 HOME
Propagating houseplants in water
HOME
Propagating houseplants in water
 HOME
Indoor herb gardening
HOME
Indoor herb gardening
 HOME
Repurposing wine bottles
HOME
Repurposing wine bottles
 HOME
Making a pet first aid kit
HOME
Making a pet first aid kit
 HOME
Meal planning & pantry inventory systems
HOME
Meal planning & pantry inventory systems
 HOME
Repairing zippers and clothing
HOME
Repairing zippers and clothing
 SKILL
Rewiring lamps or small devices
See all in Made at Home
SKILL
Rewiring lamps or small devices
See all in Made at Home